Modeling Bevel Width Transitions
For some models, creating bevels is a simple as adding a bevel modifer. But for other models, more complex methods are needed. One of these methods is creating transitions between two bevel widths. Be it a car dashboard or a piece of furniture, bevel transitions are everywhere. This short guide will show you the most optimal ways to create transitions between bevel widths.
Method #1 - Quick & Dirty
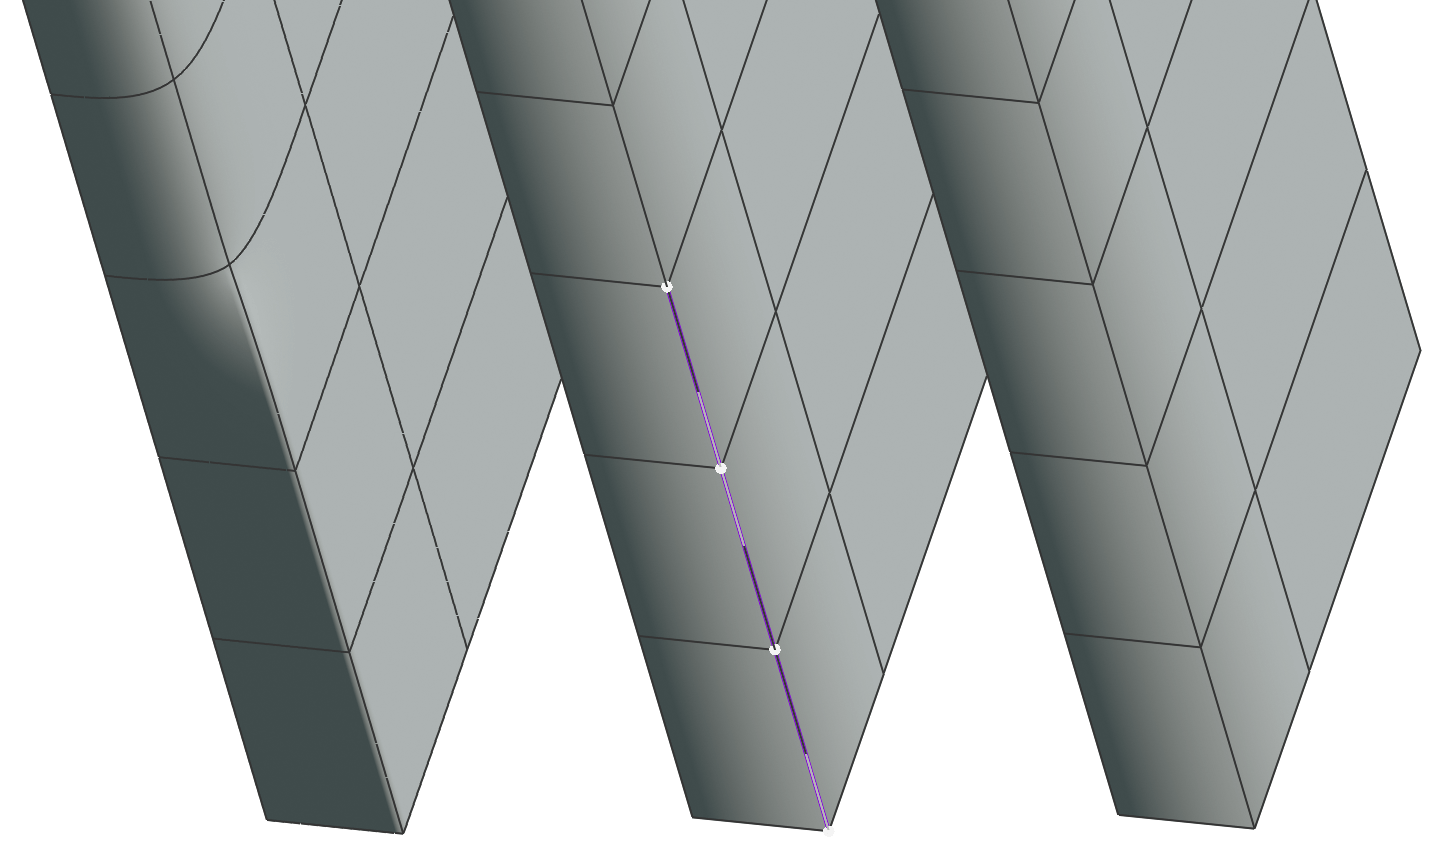
First, the quick and dirty method. If you’re in a pinch or if you’re modeling something that’s unlikely to be viewed close up, this is the method to use. This method involves using edge ceases to sharpen at variable levels. In this example, the sharp edge has a crease of 1.00 and the wider bevel has a crease of 0.00. To adjust the crease of an edge in Blender, use SHIFT-E.
Method #2 - Smooth Bevels
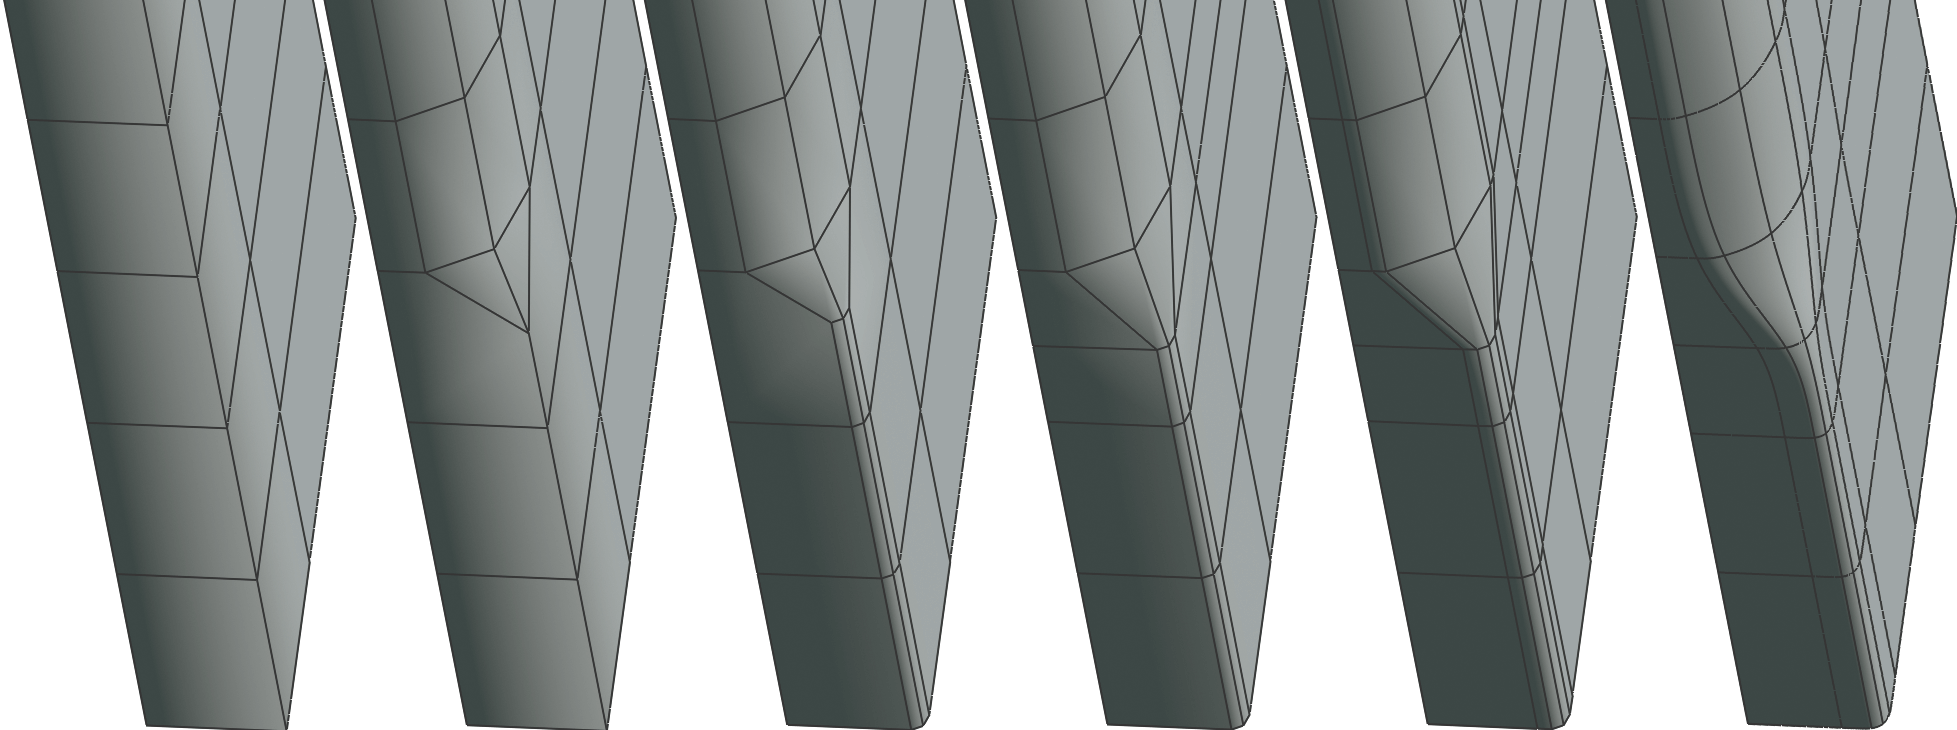
This method is a bit more complex and involves using the bevel tool (CTRL-B) to separately bevel each bevel width then combining the two bevels by cleaning up the merge point in step three. This method also using holding edges instead of edge creasing to have more control over the bevel profile.
Using this type of transition is perfect for important bevel transitions and high-poly modeling where model density is less restricted.
Method #3 - Sharp Bevels
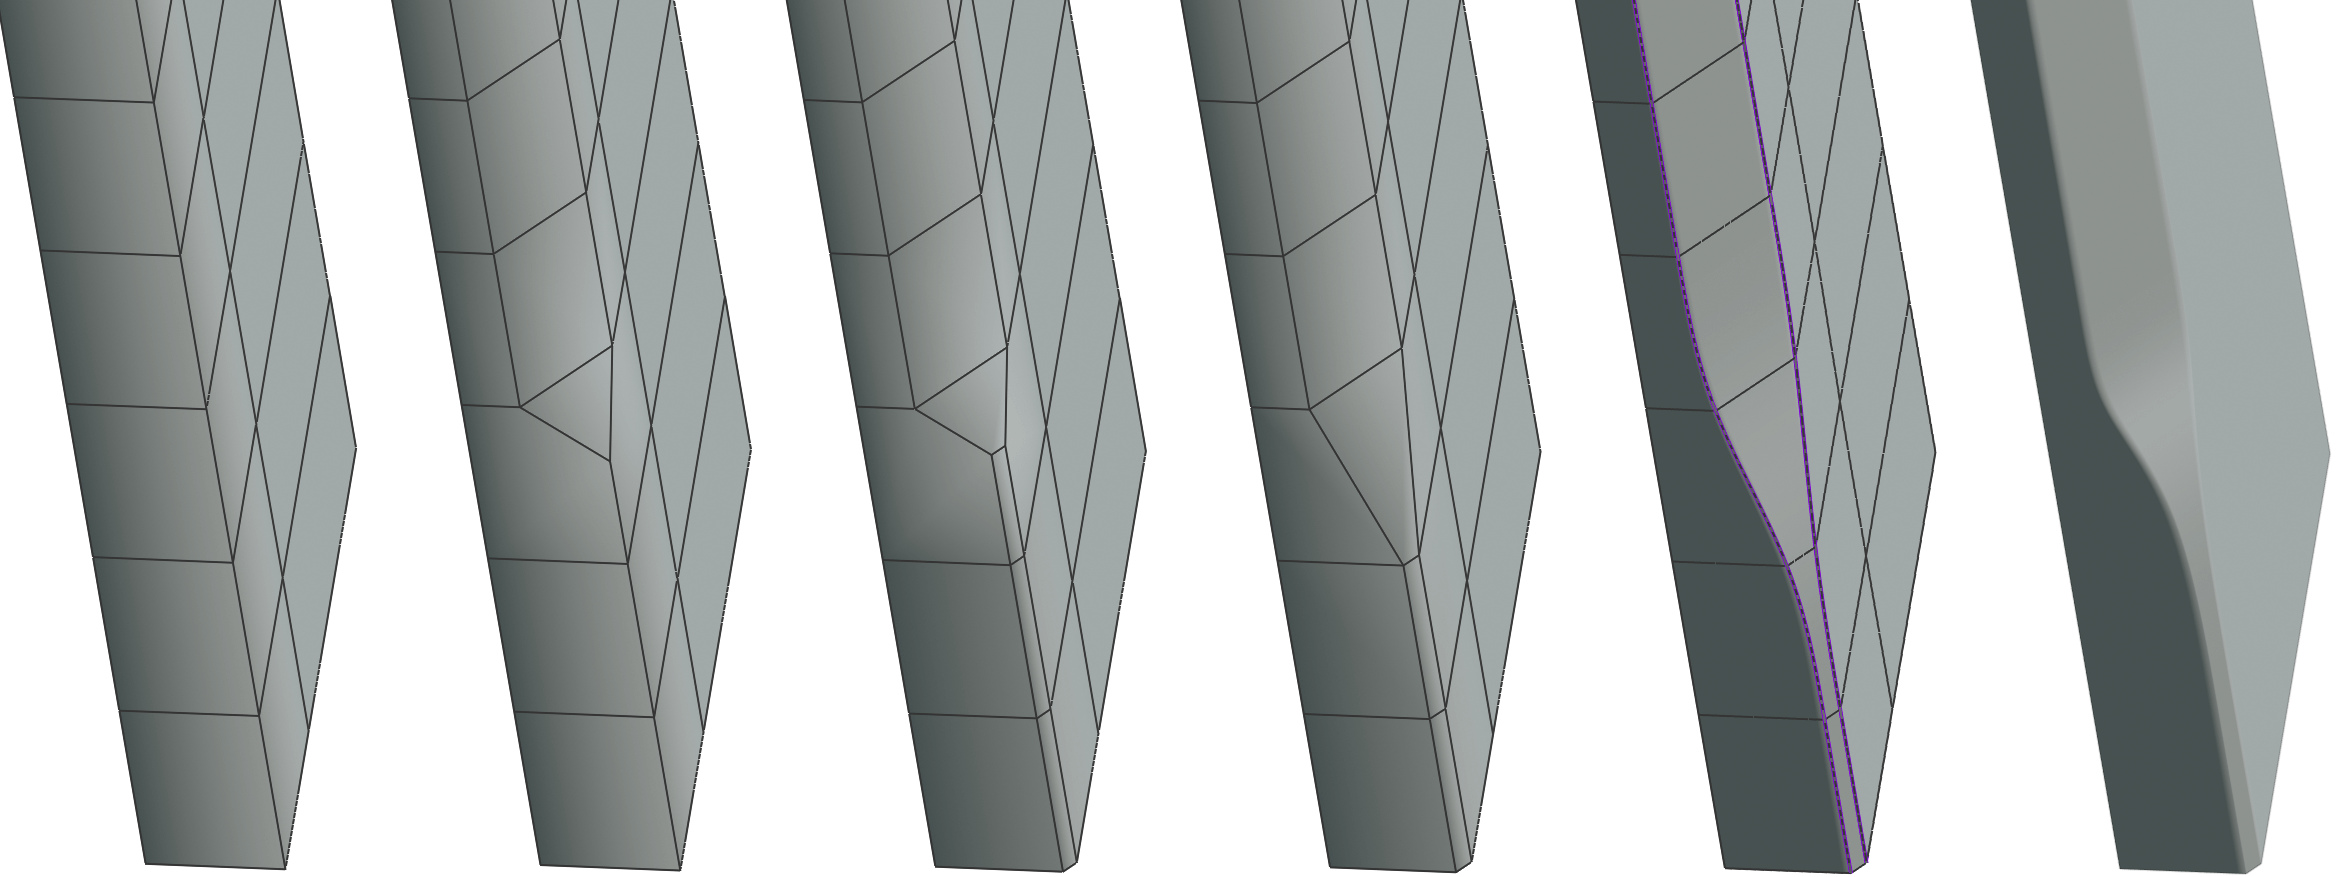
This last method is for sharp chamfered bevels. Using creases and single segment bevels, it’s easy to create very clean transition points. The important step here is to merge the extra vertices in step four to restore the edge flow.
That concludes this brief intro to variable bevels! If this guide was useful to you, then please consider sharing it or contributing to the project’s Patreon page.